Self-Driving Car with Reinforcement Learning in Unity
This article is about to underline the ability of (Deep) Reinforcement Learning to solve complex tasks like make an agent capable to drive autonomously without colliding with other objects. The article is a summary of an academic project, thus I’m not going to dive deeply into the Unity environment as the basics are available in several online tutorials.
Technologies
Since the idea was to create a 3D environment and to use advanced Deep Reinforcement Learning algorithms, the project stands on Unity and its powerful package MLAgents. All the scripts are written in C# as required by Unity.
The Agent
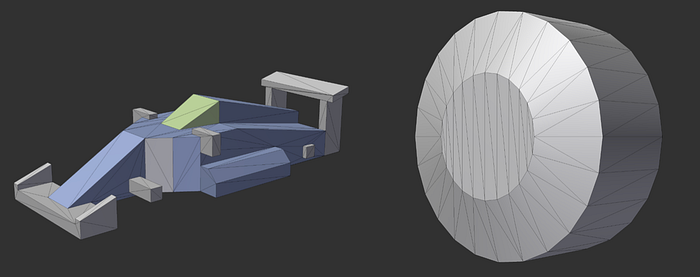
The agent is a simple car model from Racing Kit with one body and four wheels. On this the controls and the sensors were designed. Both are mandatory for obtaining a correct movement during and after the training phase. Looking from a script perspective, all the logic for the control is inside CarDriver.cs attached to the car. On the other hand, the sensors, once configured, are managed by Unity.
Control
The term “control” is usually referred to how the agent moves in the specific environment. The first thing to say is about the colliders. A collider is just a way to wrap approximately a physical object in order to respond to physical collisions.
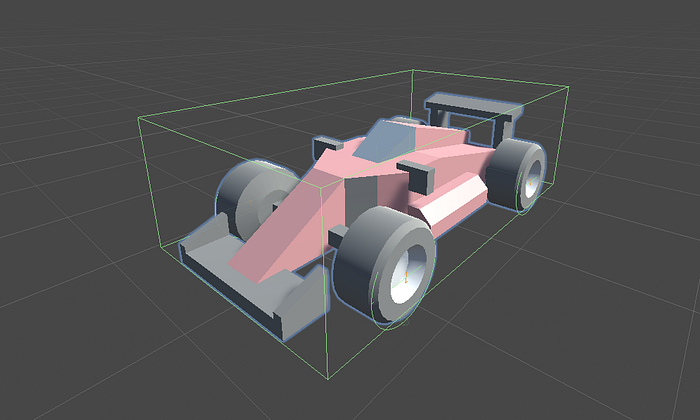
Thus, each wheel has a collider in order to percept the road and to respond to physical forces. Furthermore, the body has a collider too in order to percept the collisions with walls and other cars.
A control of the car can be implemented in different ways. In this case two forces, defined as a motor force and a steering force, are applied to the appropriate wheels (more precisely, to their colliders).

In the Unity Inspector of the car object it’s possible to choose the driving wheels and the steering wheels. All the logic for the movement is inside the function FixedUpdate(), located inCarDriver.cs, which is called multiple times in each frame according to an independent interval. So, in this function to each wheel is applied the specific force, namely motor or steering one depending on the wheel.
As you can notice by looking at the script, there is another value used to implement the brake when the motor force input is zero. That’s it. Now the car has a control and a visual rotation of the wheels (like an Ackermann steering).
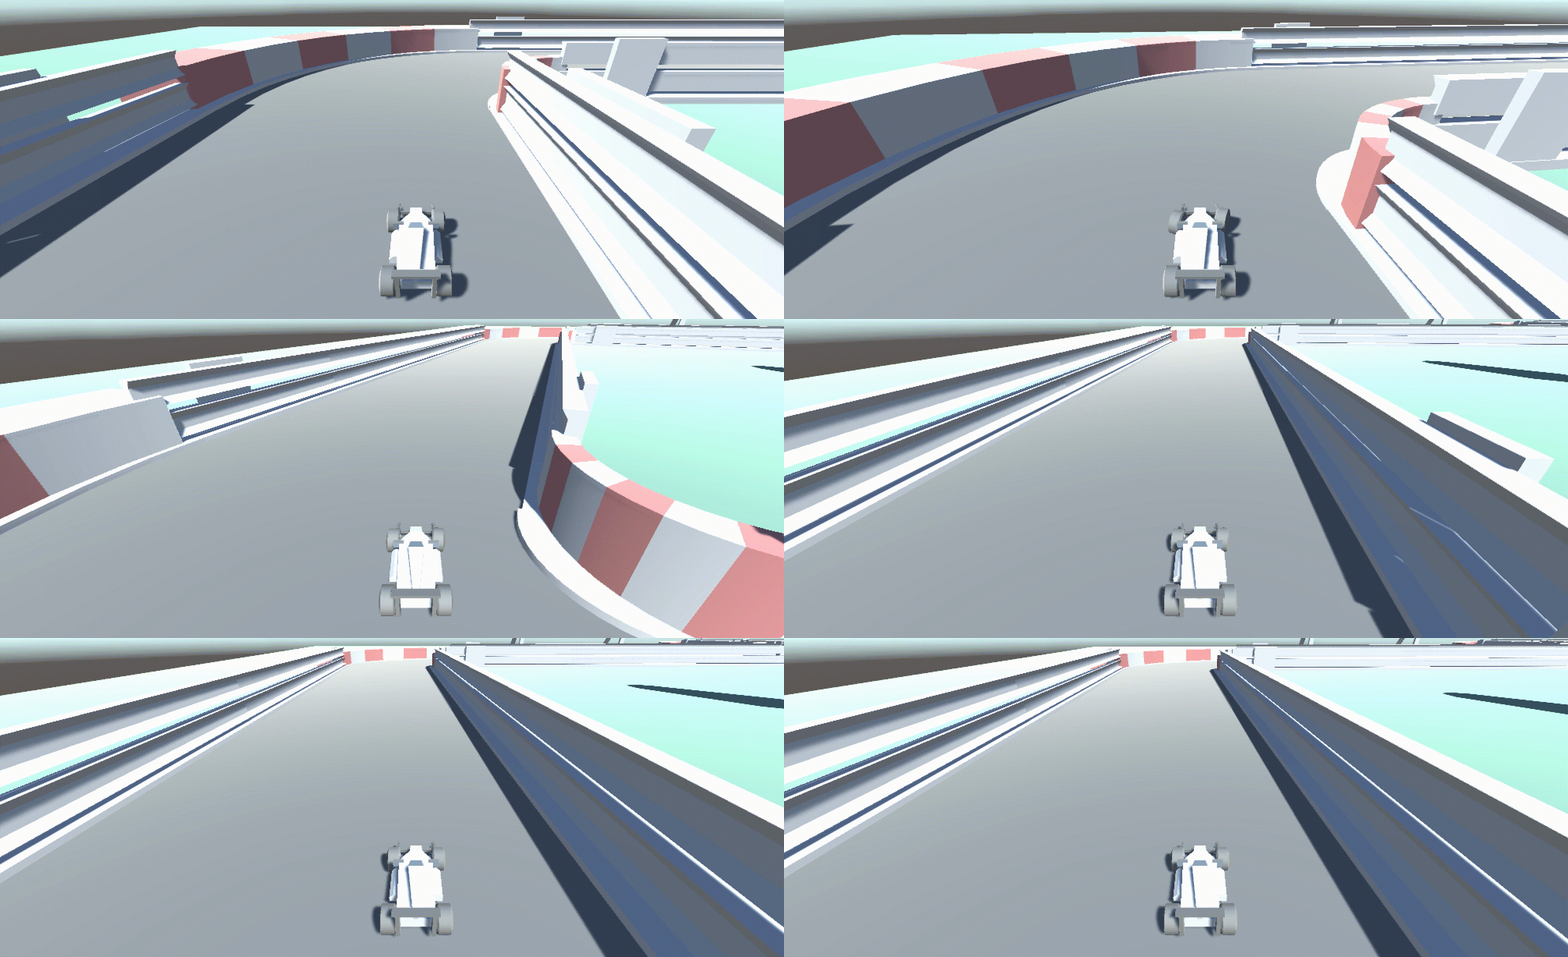
Sensor
To complete the movement we just need some sensors in order to percept three main object in the scene: cars, walls, checkpoints. Unity has a built-in component called RayPerceptionSensorComponent3D , which defines a sensor with an origin point. It is also possible to choose the number of raycasts for each direction and many other parameters.

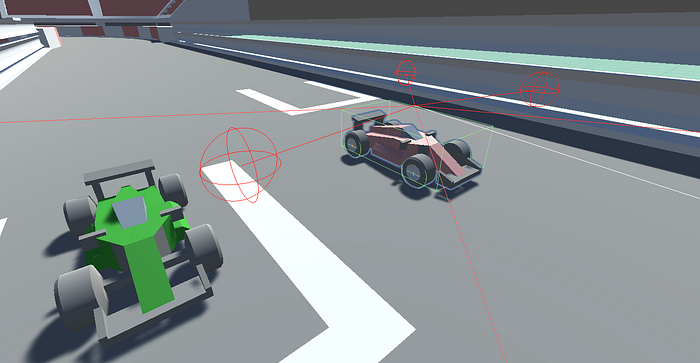
Three sensors are attached to the car model. For the sake of comprehension I added some colors to each of them: the blue one is for the walls and the cars; the red and the orange sensors are for the checkpoints.
More Observations:
Defining the observations is an important step for the training. All the observations of the sensors are managed by Unity, namely they are already an input of the Neural Network. Furthermore, we just add 6 more observations: 3 for the velocity vector, and 3 for the distance vector from the car to the next checkpoint. These parameters are arbitrary, so you should understand the learning context and choose the observations based on what informations the agent needs in order to learn the task.
Learning
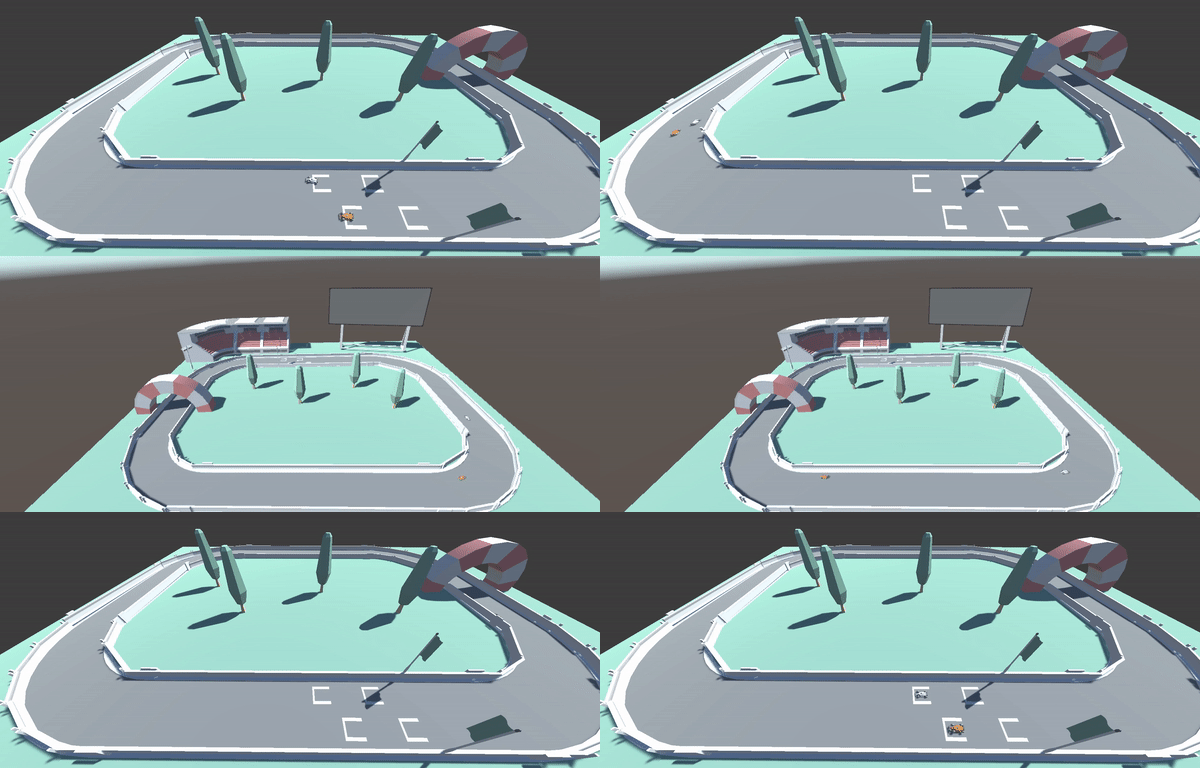
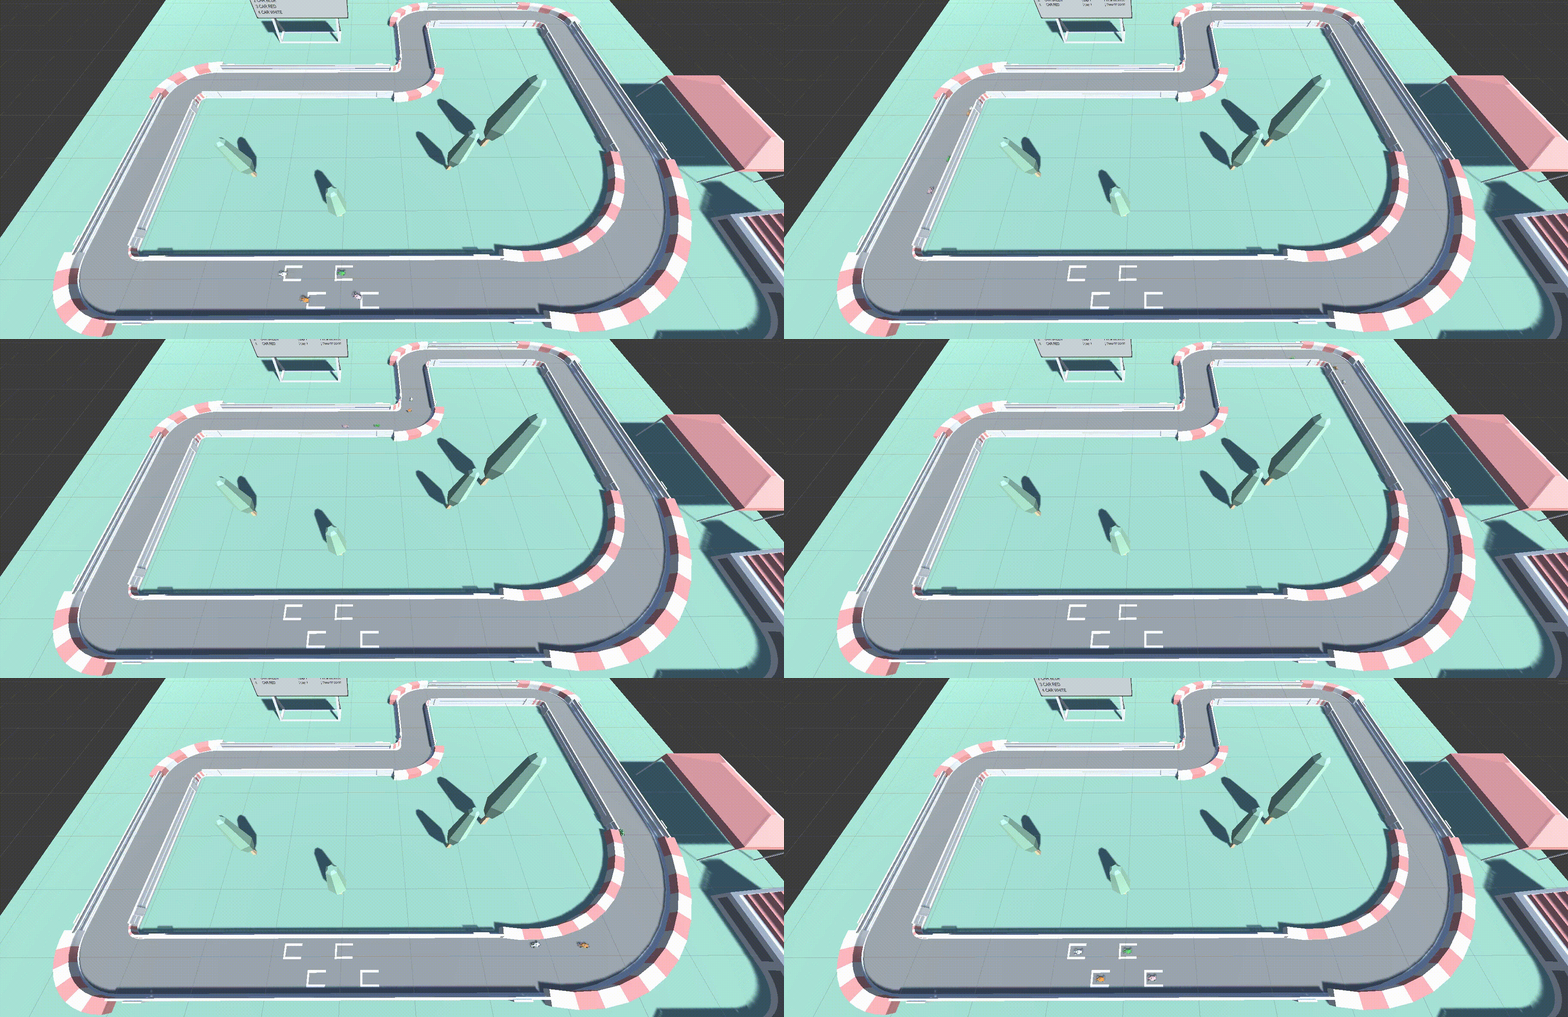
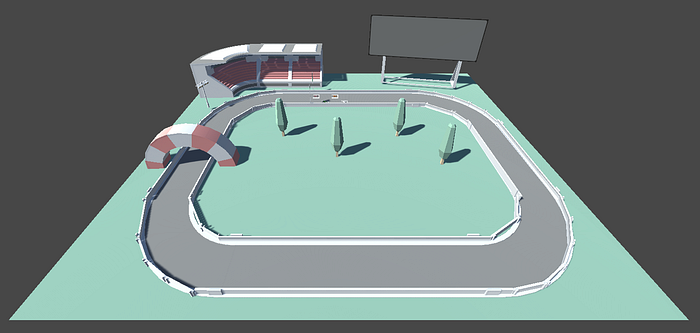
Once the agent is configured with a control and some sensors, we can design the training track and the testing track. The former is more complex in order to help the generalization process.

The board is just a way to show some information about the lap times. In both tracks there are invisible checkpoints that are used to follow the right direction. We can refer to this as checkpoint system.
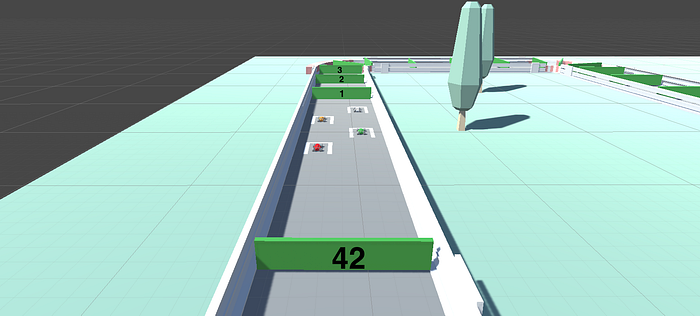
The car gets a positive reward if it goes through the correct checkpoint. On the other and, it gets negative rewards if: it collides with walls, other cars or just by doing observations. The latter is helpful to speed up the lap and don’t let the car stay in the same position. The episode ends after a max number of steps or whether a car finishes the lap. Finally, multiple agents are considered because their behavior affects the model update.
Deep RL algorithms
The MLAgents package offers PPO and SAC as Deep RL algorithms. Both were used in order to choose the most suitable for our task. Overall, there are some empirical conditions that can be considered for the choice. For instance, SAC is more suitable in slow step environment and is sample efficient; PPO is more stable and the learning is faster.
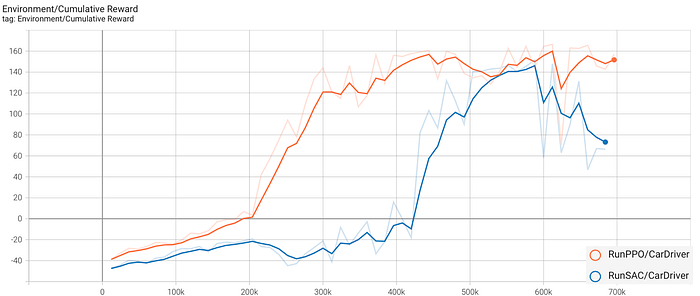
The comparison is done on 700.000 steps by evaluating only the cumulative reward. As you can notice from the graph, PPO curve is always upper the SAC curve, who starts to be positive only after the step 420.000 approximately. Moreover, PPO ends in 22 minutes compared to 1h 21m for SAC. The conclusion was that PPO turns out to be the best: with a learning duration of 22 minutes it is possibile to obtain good results.
Following you can see the ultimate evaluation in order to establish the best generalization on the testing track. The orange car has the PPO model, while the white one has the SAC model. As you can notice, despite the start position, the orange one is faster and capable to complete the lap.
